Quick Start Guide: Wishlist App Setup
Feature Overview
The system automatically saves and syncs wishlist items across all devices for logged-in users. Once the customer signs in, their saved wishlist is instantly available on any device. This ensures a seamless shopping experience and prevents favorite items from being lost.
Requirement: To enable wishlist synchronization, the user must be logged into their account on every device where they want their wishlist to stay updated.
Step 1 — Enable the App on Your Theme
Enable the app on the theme you need. We recommend enabling the add-on on an unpublished theme first to test everything before going live.
Go to App embeds at your theme editor, find R+ Wishlist - Helper in the list and toggle it on.
Note: The extension must be activated separately for each theme you want to use it in. If you switch themes, remember to re-enable the embed.

Step 2 — Add the Wishlist Button to the Product Page
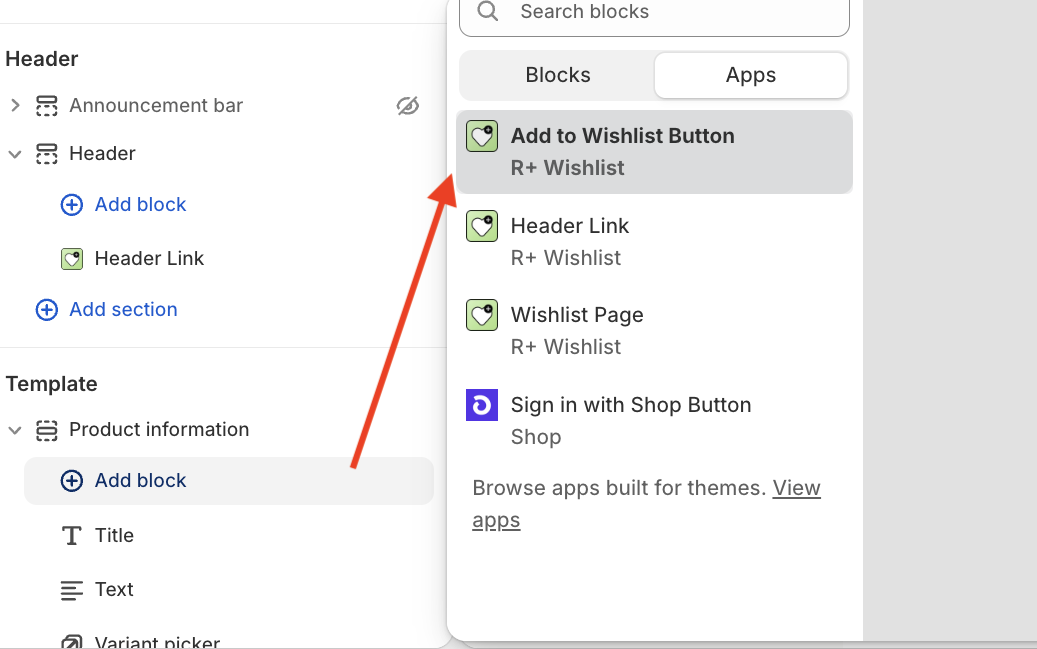
Go to your Shopify theme editor → open the Product page → in the Product information section, add the Wishlist button block from the app.
Use the block settings to customize the button's appearance to match your store's style. You can learn more about button customization in this article.

Step 3 — Add the Wishlist Page
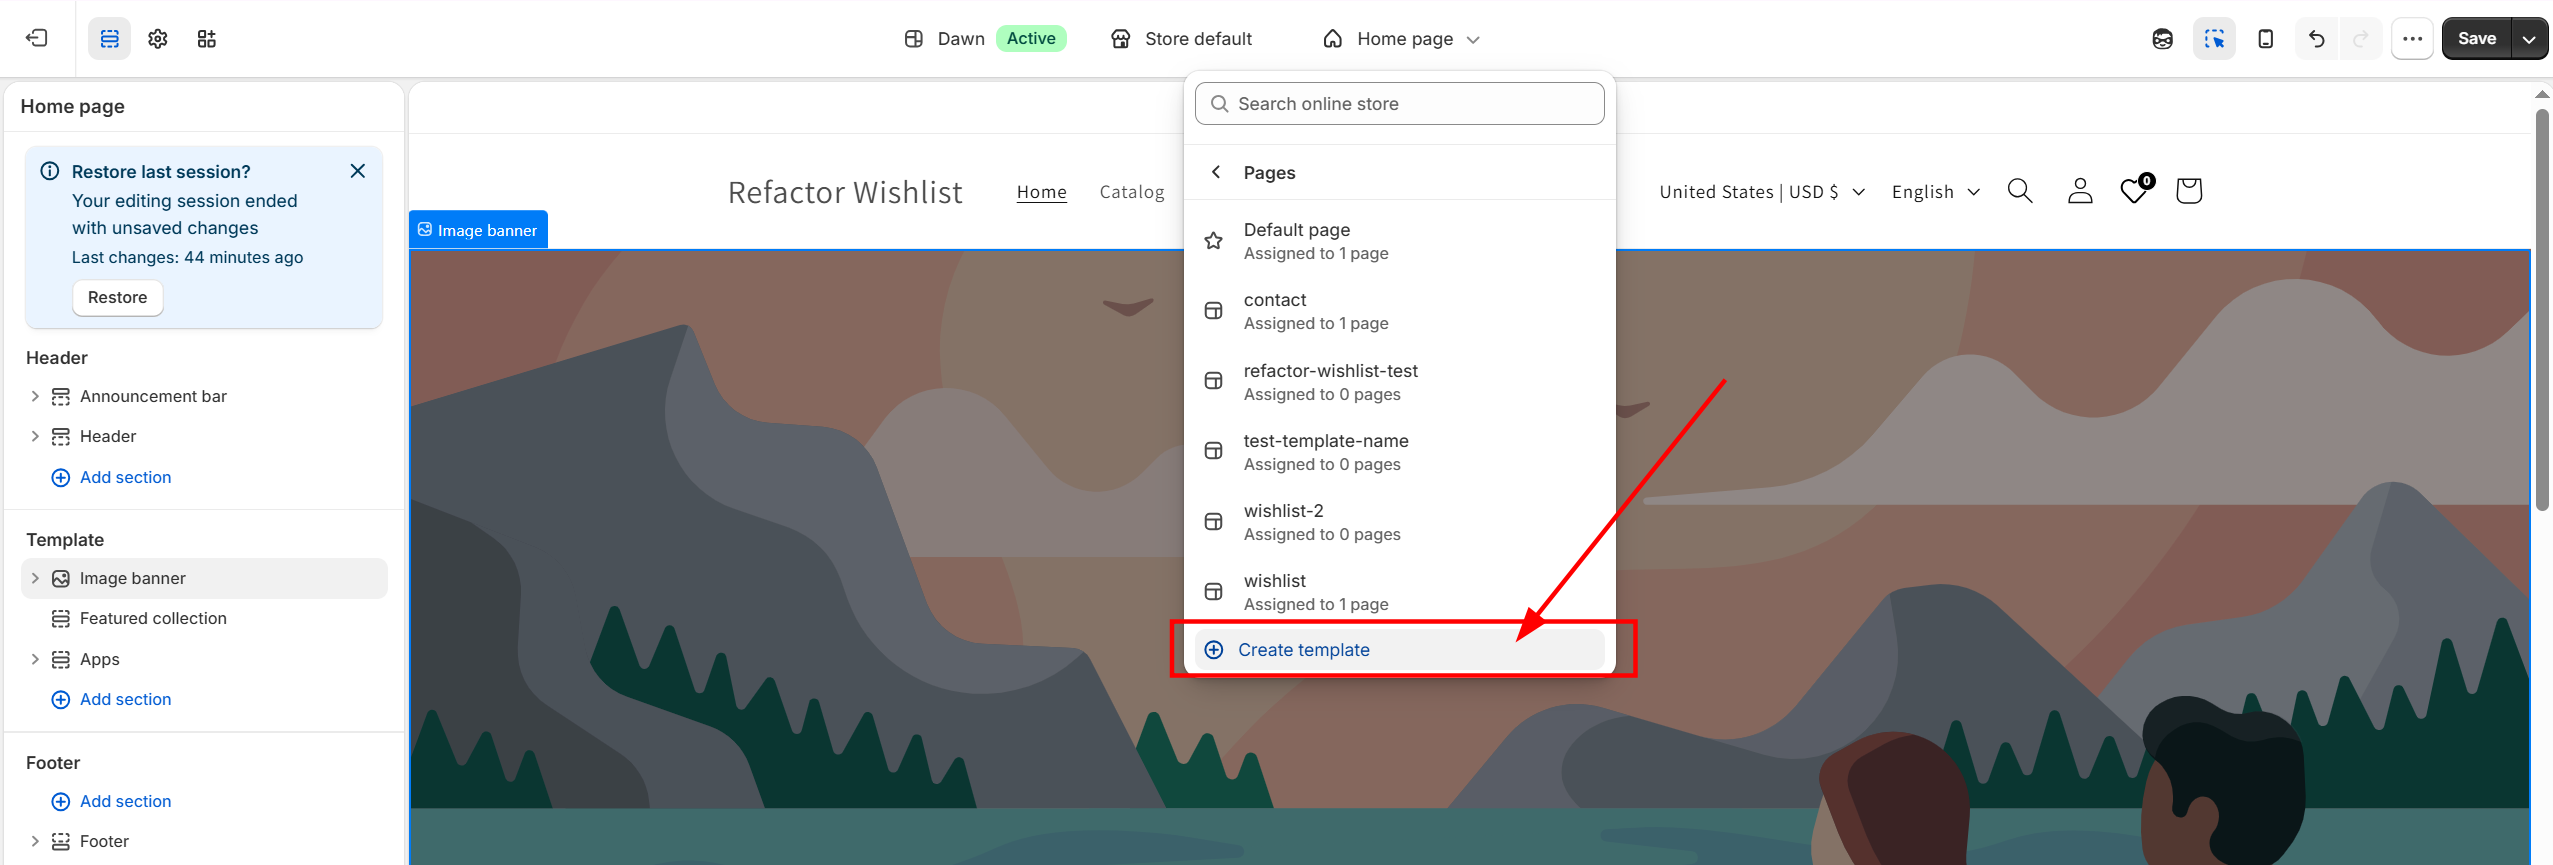
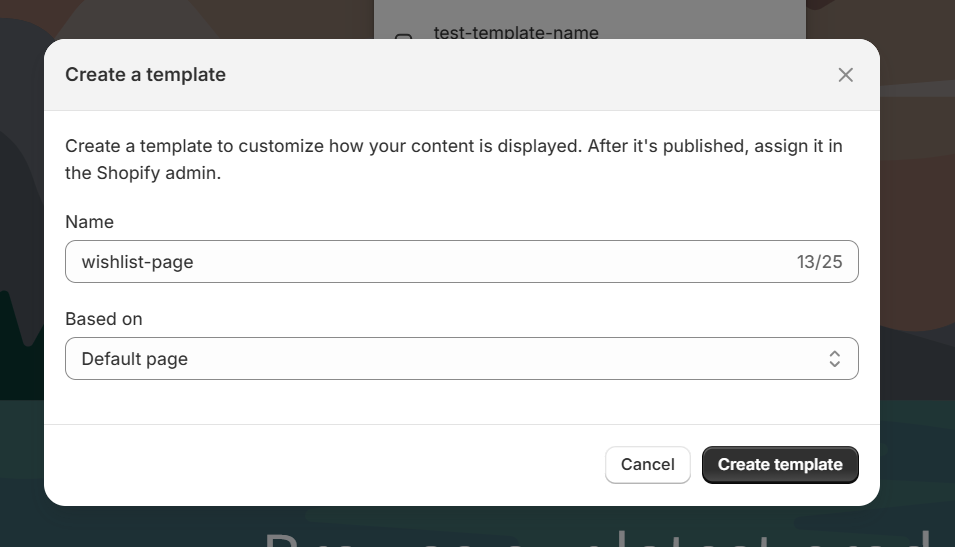
Create the Wishlist page template in the theme editor.

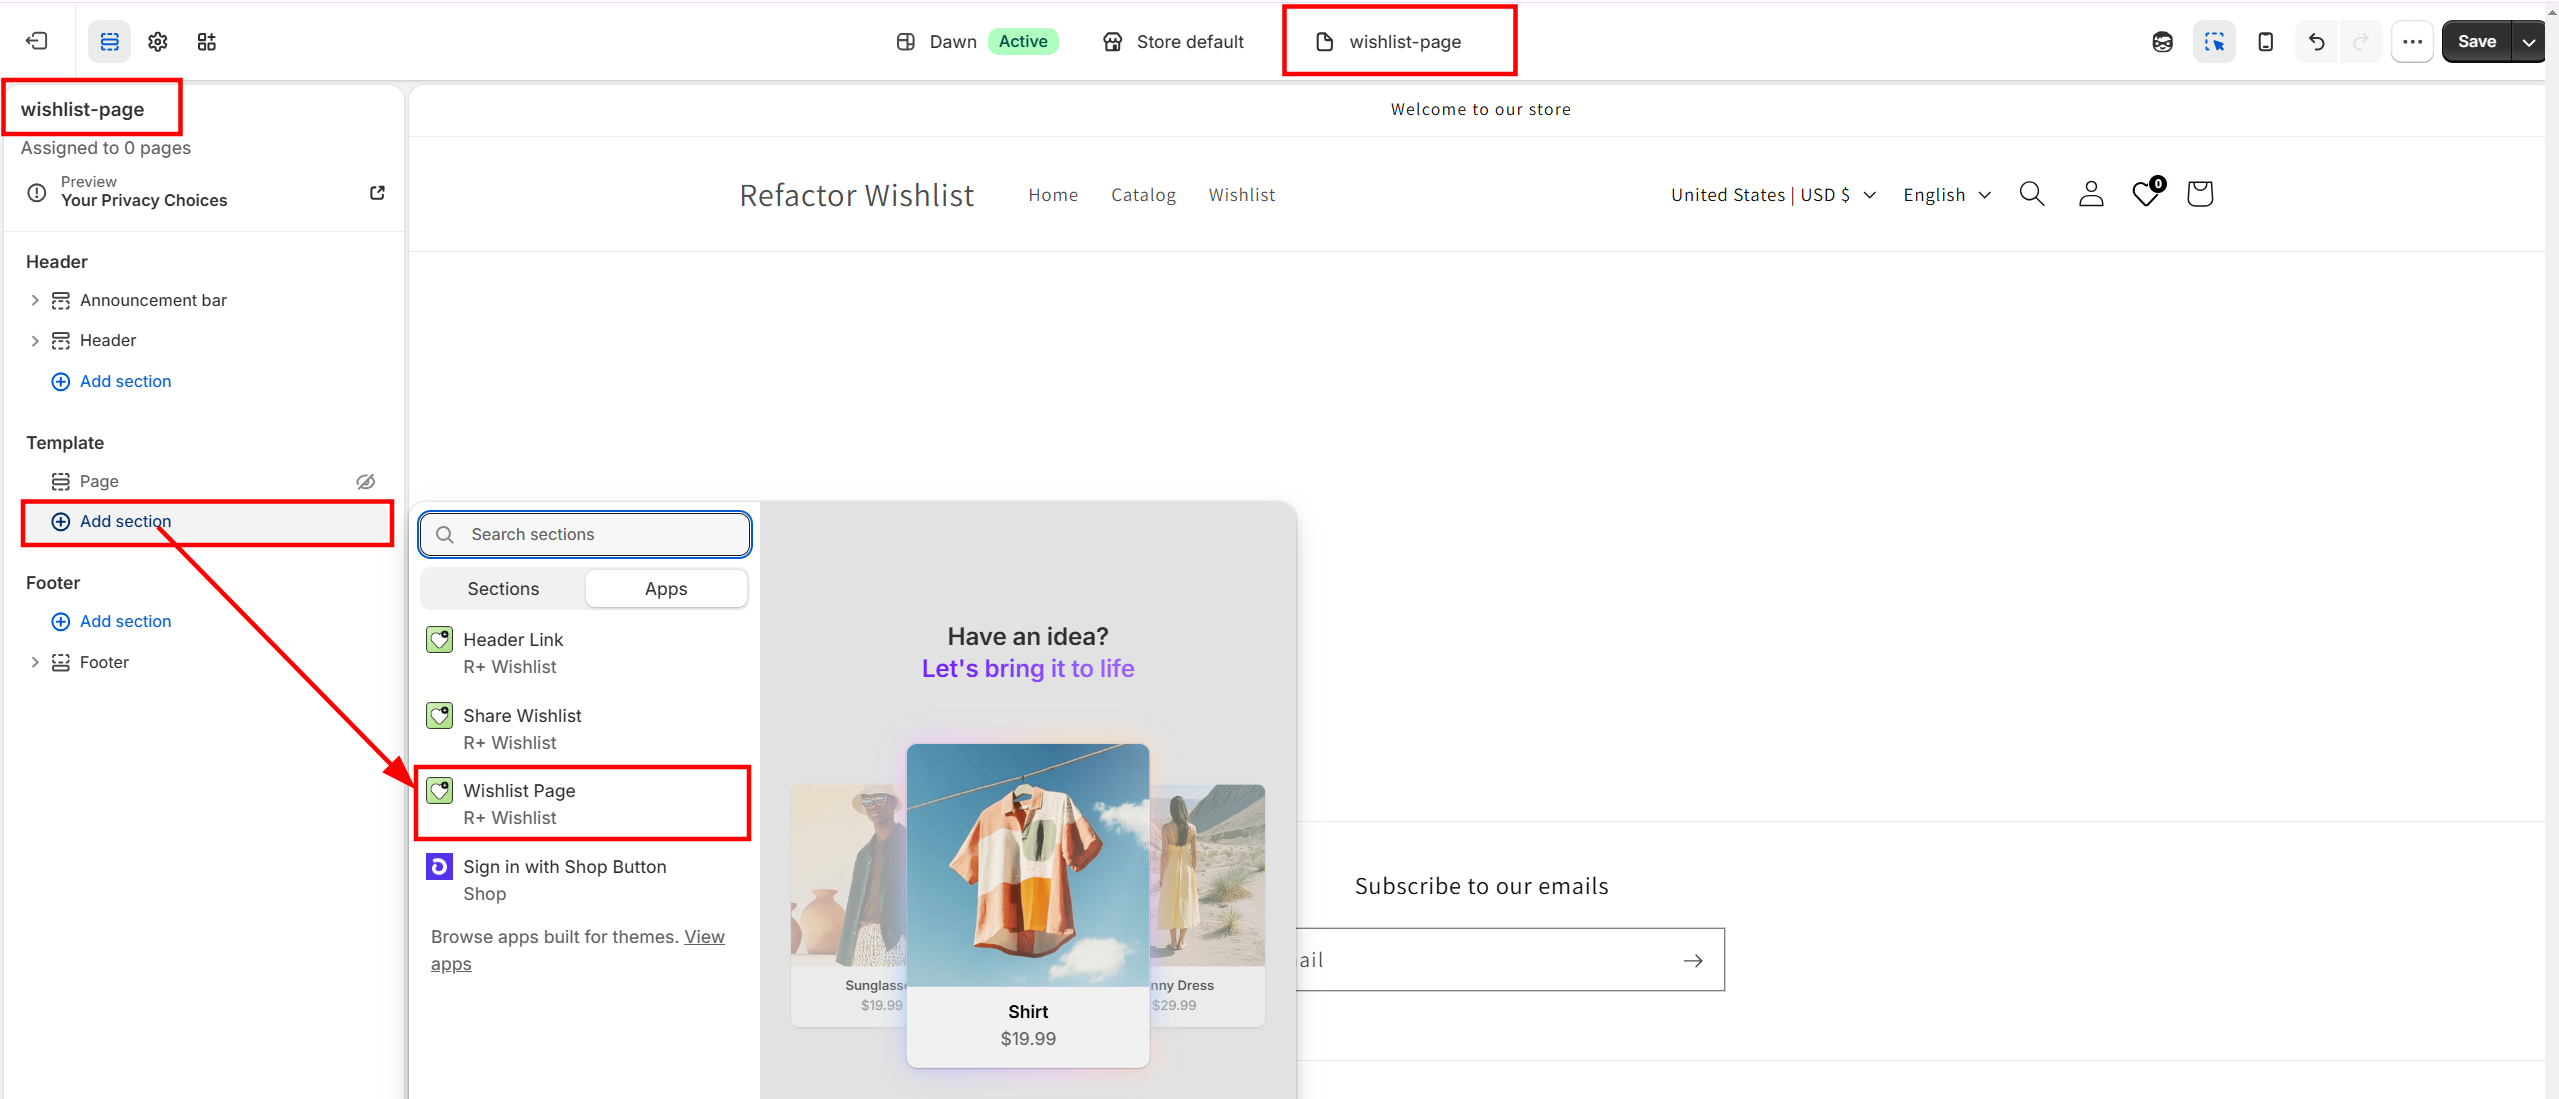
Then open it in the theme editor and add the Wishlist Page block to the page.
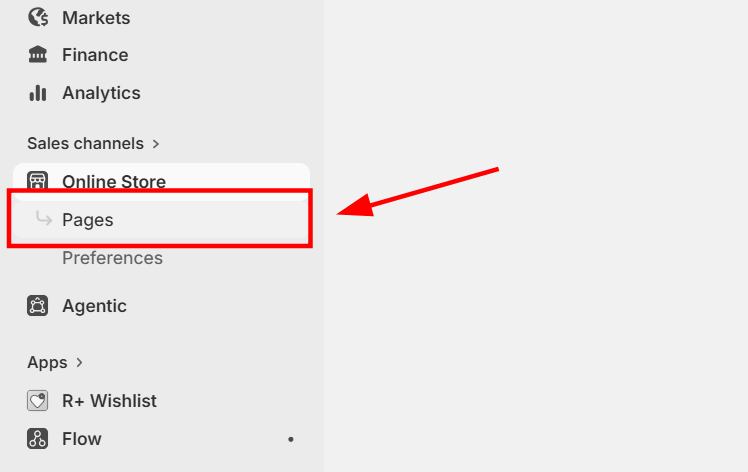
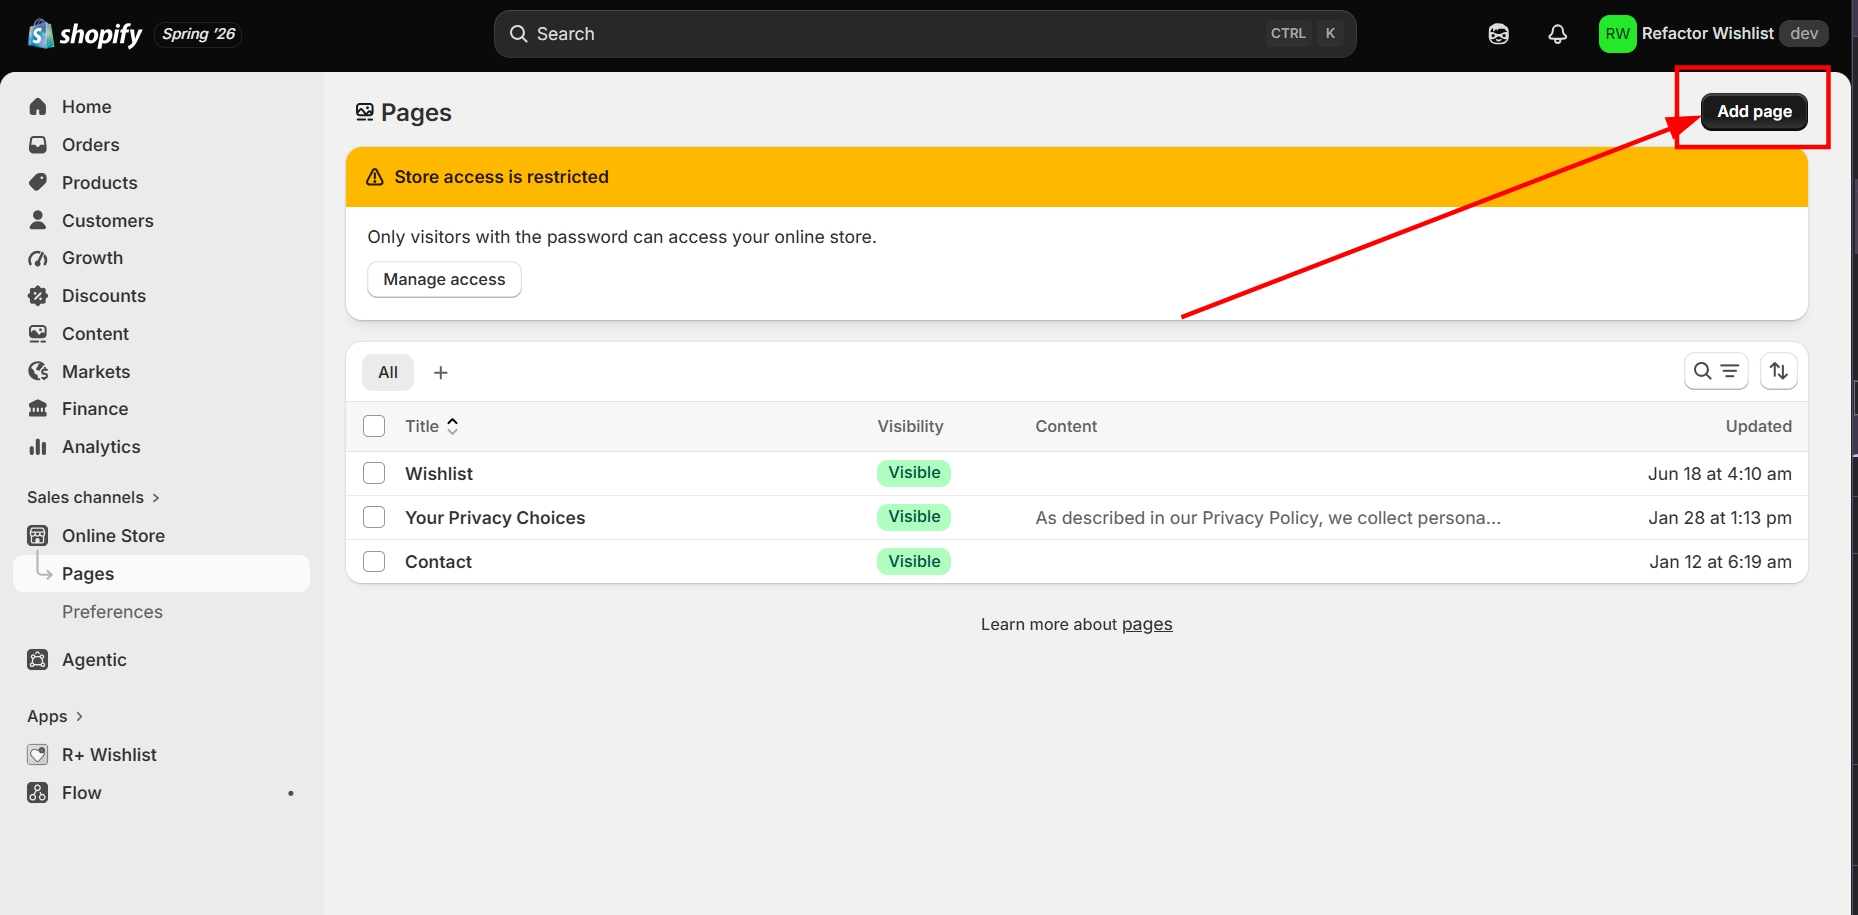
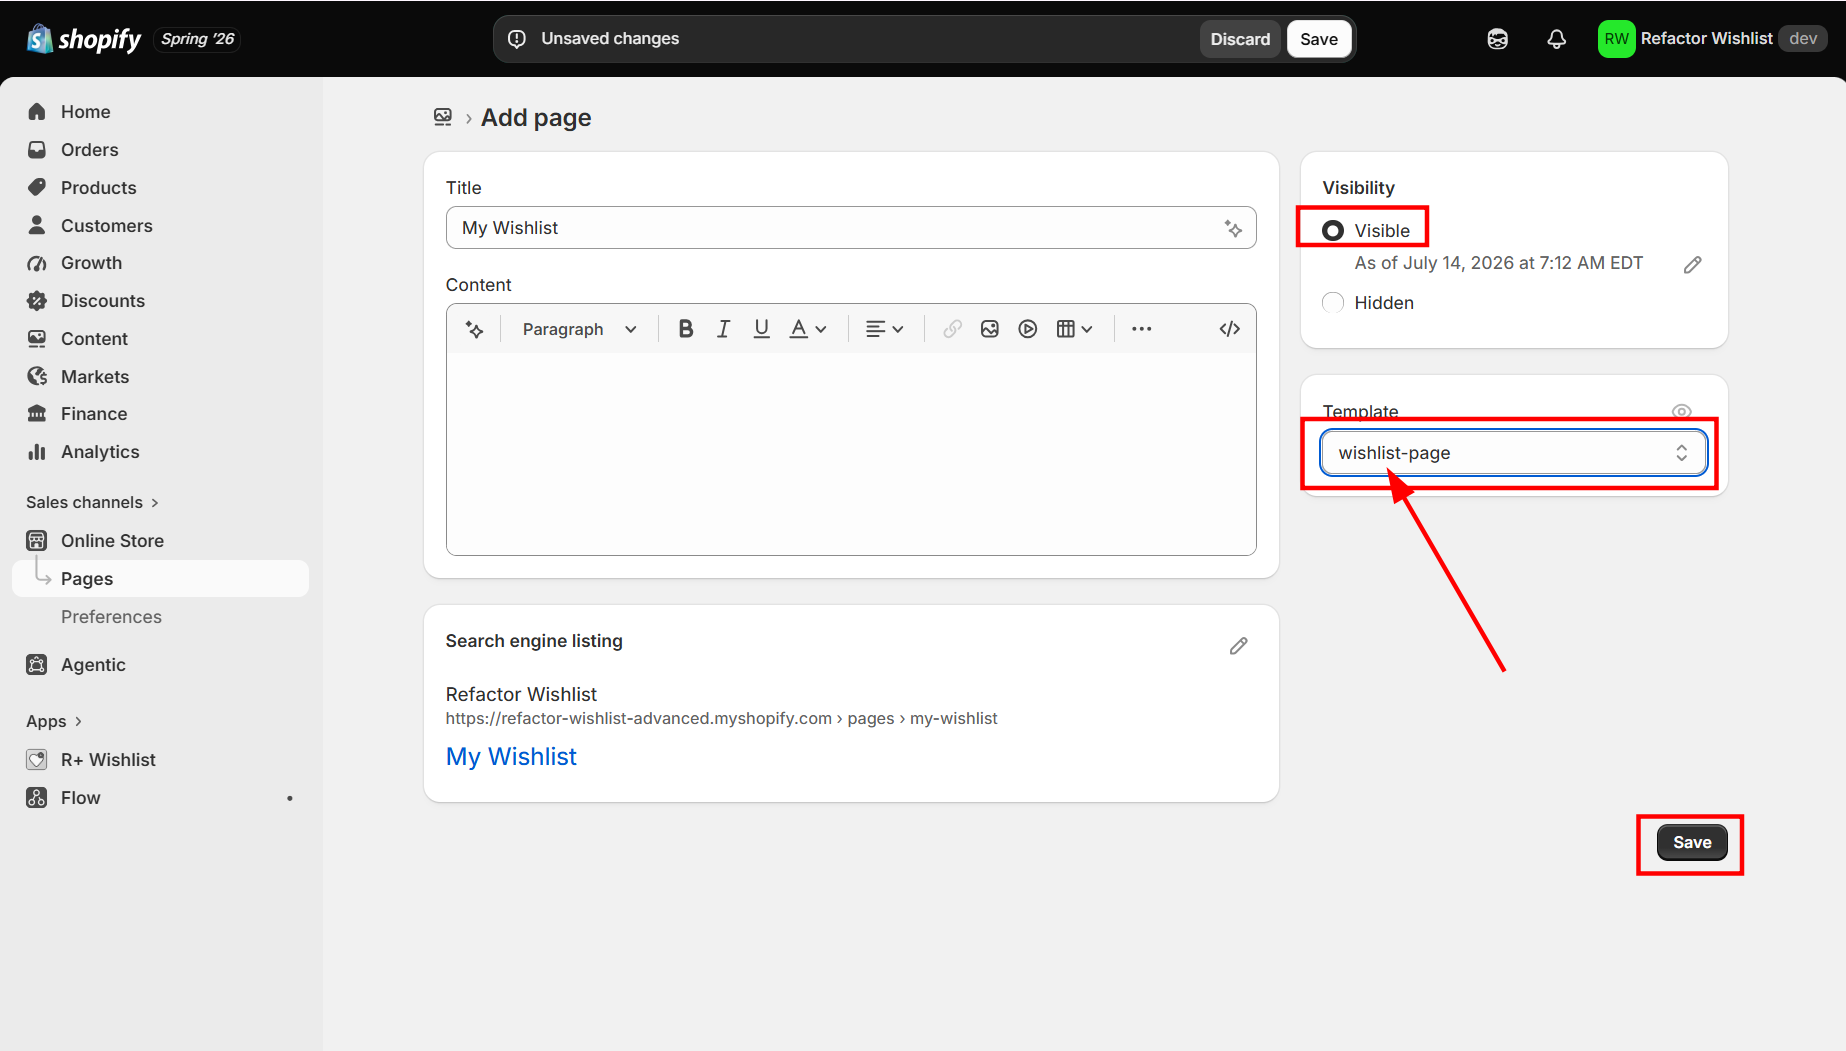
Then navigate to your Shopify admin and create a Wishlist page. You need to assign the Wishlist template to your Wishlist page, and set page visibility to "Visible".
Customers can access the Wishlist page by clicking the Wishlist icon in the header — which you'll set up in the next step.
Step 4 — Add the Wishlist Icon to the Header
Go to your Shopify theme editor → open the Header section → add the Header Link block from the app to display it in your store's header.
Important! The icon will only be visible if the link to the Wishlist page has been filled in within the block settings.

Use the block settings to customize the icon's appearance. You can learn more about customization options in this article.
Step 5 — Manage Your Wishlist
On the Wishlist page, customers can manage their saved items at any time. Click the delete icon next to an individual item to remove it, or use the "Clear list" option to remove all items at once.

Troubleshooting
What to do if your theme doesn't support app blocks?
If your theme does not support app blocks, you still have a couple of options to get the Wishlist working in your store.
For a floating button approach, you can read this article to add a Floating Wishlist, and this article to add a Floating Wishlist Button on the Product Page.
For a more advanced setup, you can use the inject snippet method — see the relevant guides for adding a Go to Wishlist button in the header and an Add to Wishlist button on the Product Page and product cards.
Do you need help?
If you have any questions or run into issues, please contact us — we’re happy to help.